Git Integration
Git Integration
Katonic provides you different environments with that comes different ways to clone the repository and access the files.
Some of the examples are available on Katonic's public repository. You can directly use those for your experimentation purpose or clone other examples from Github.
Click here for Katonic use cases repository
Git Integration in JupyterLab using Katonic Studio Image
In this section, we will be showing you how can you clone data and files from our open-source examples available on GitHub to your workspace.
1.Click on the “Git” icon on the left bar
2.Click on the “Clone a Repository” button available in the left panel. This will open up a window.
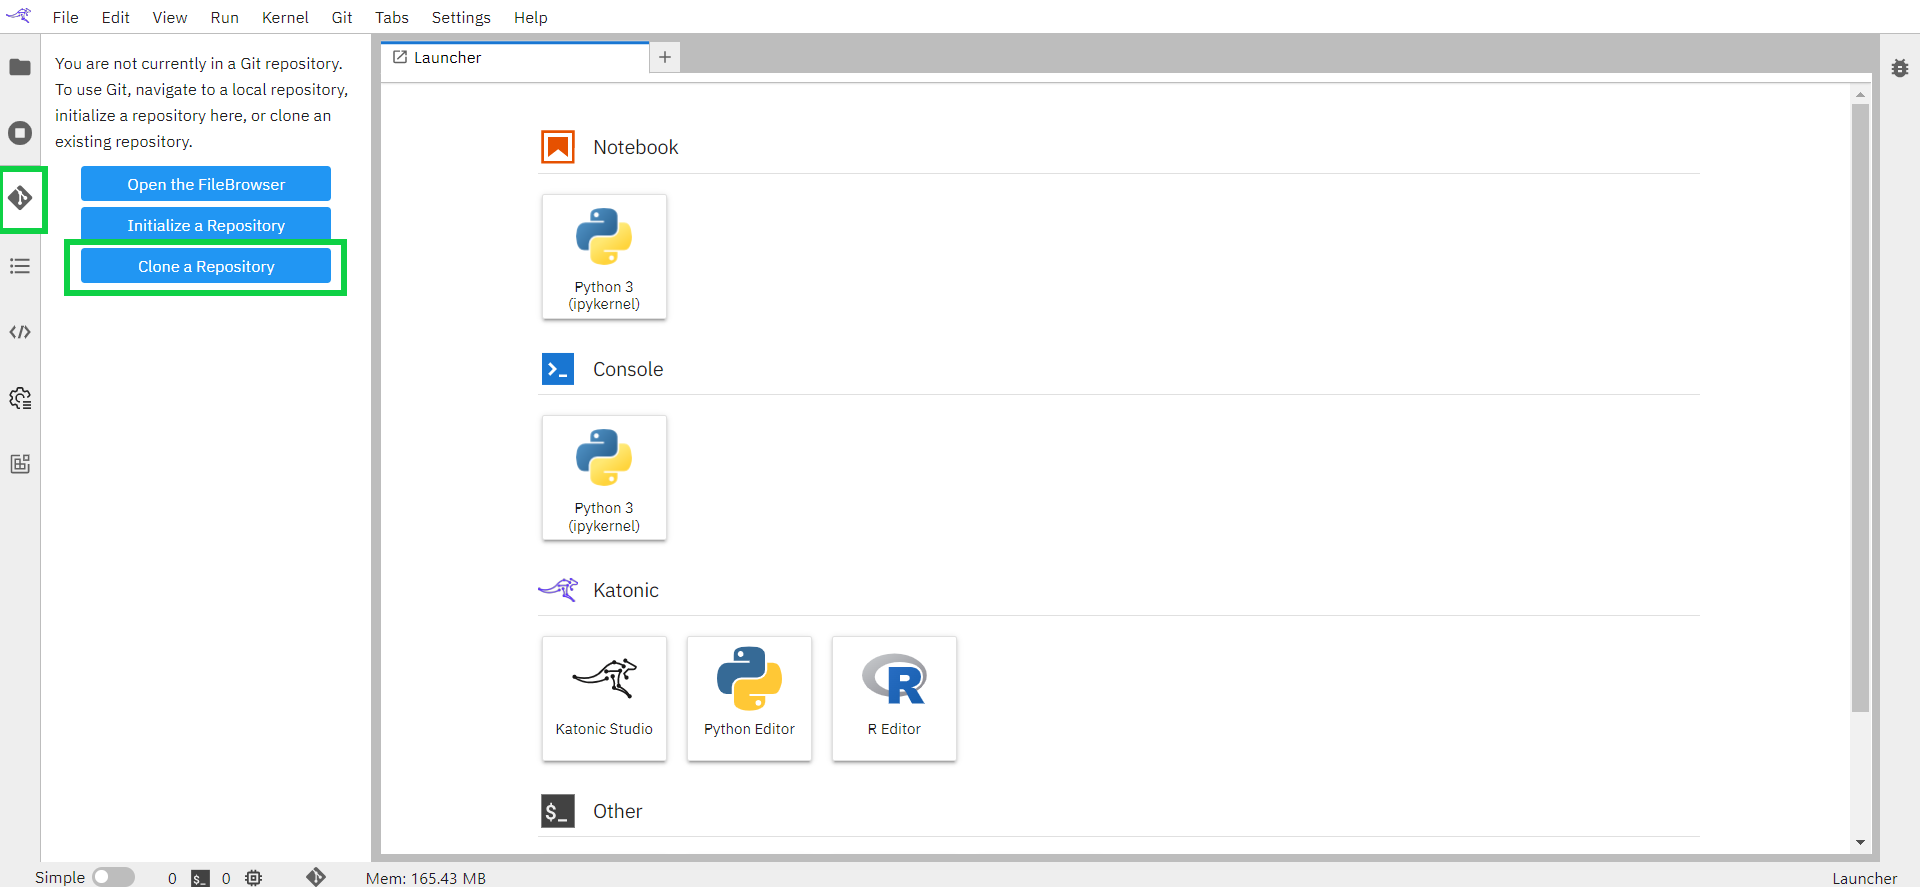
3.Enter the Clone URI Link that is available in GitHub Repository.
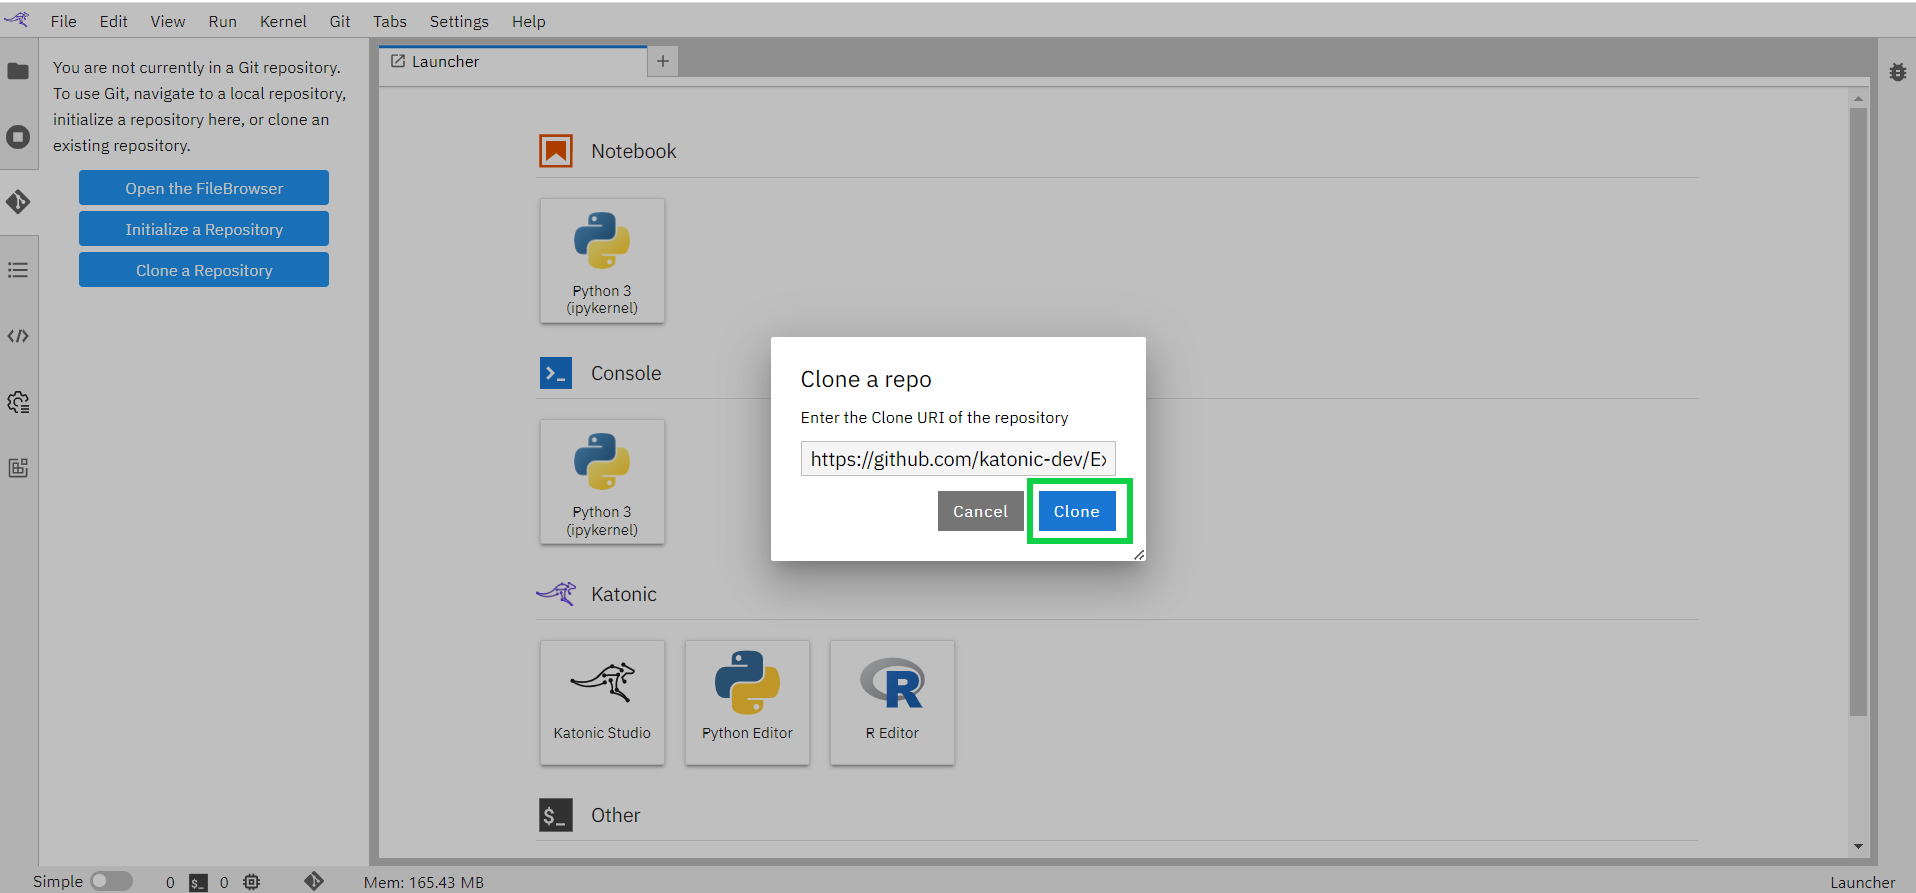
4.Click on the “clone” button.
5.This process will clone the whole repository into the workspace.
6.Now you will be able to see the Examples folder in the File Browser.
Git Integration in JupyterLab using Katonic Base Image
For Katonic Base environment, follow the below steps for getting files into your workspace.
Click on the “Terminal” icon in the Launcher tab.
Type “bash” in the prompt. It will start the bash command.
Enter all the below commands one after the other to clone the repository.
   apt install git
   git clone https://github.com/katonic-dev/Examples.git
   cd Examples
   git checkout
4.This process will clone the whole repository into the workspace.
Git Integration with Jupyter
You can also clone the repository using jupyter environment.Follow the below instructions for cloning the repository.
To begin, click on the connect button from the workspace that will open your Jupyter Home Page.

Click on New drop-down from the top right and Select Terminal.

Type “bash” in the prompt. It will start the bash command.
Enter all the below commands one after the other to clone the repository.
apt install git
git clone https://github.com/katonic-dev/Examples.git
cd Examples
git checkoutThis process will clone the whole repository into the Home page.
Now you will be able to see the Examples folder.

Git Integration with Visual Studio Code
Once you've connected with your VSCode workspace You will be viewing the VSCode UI.
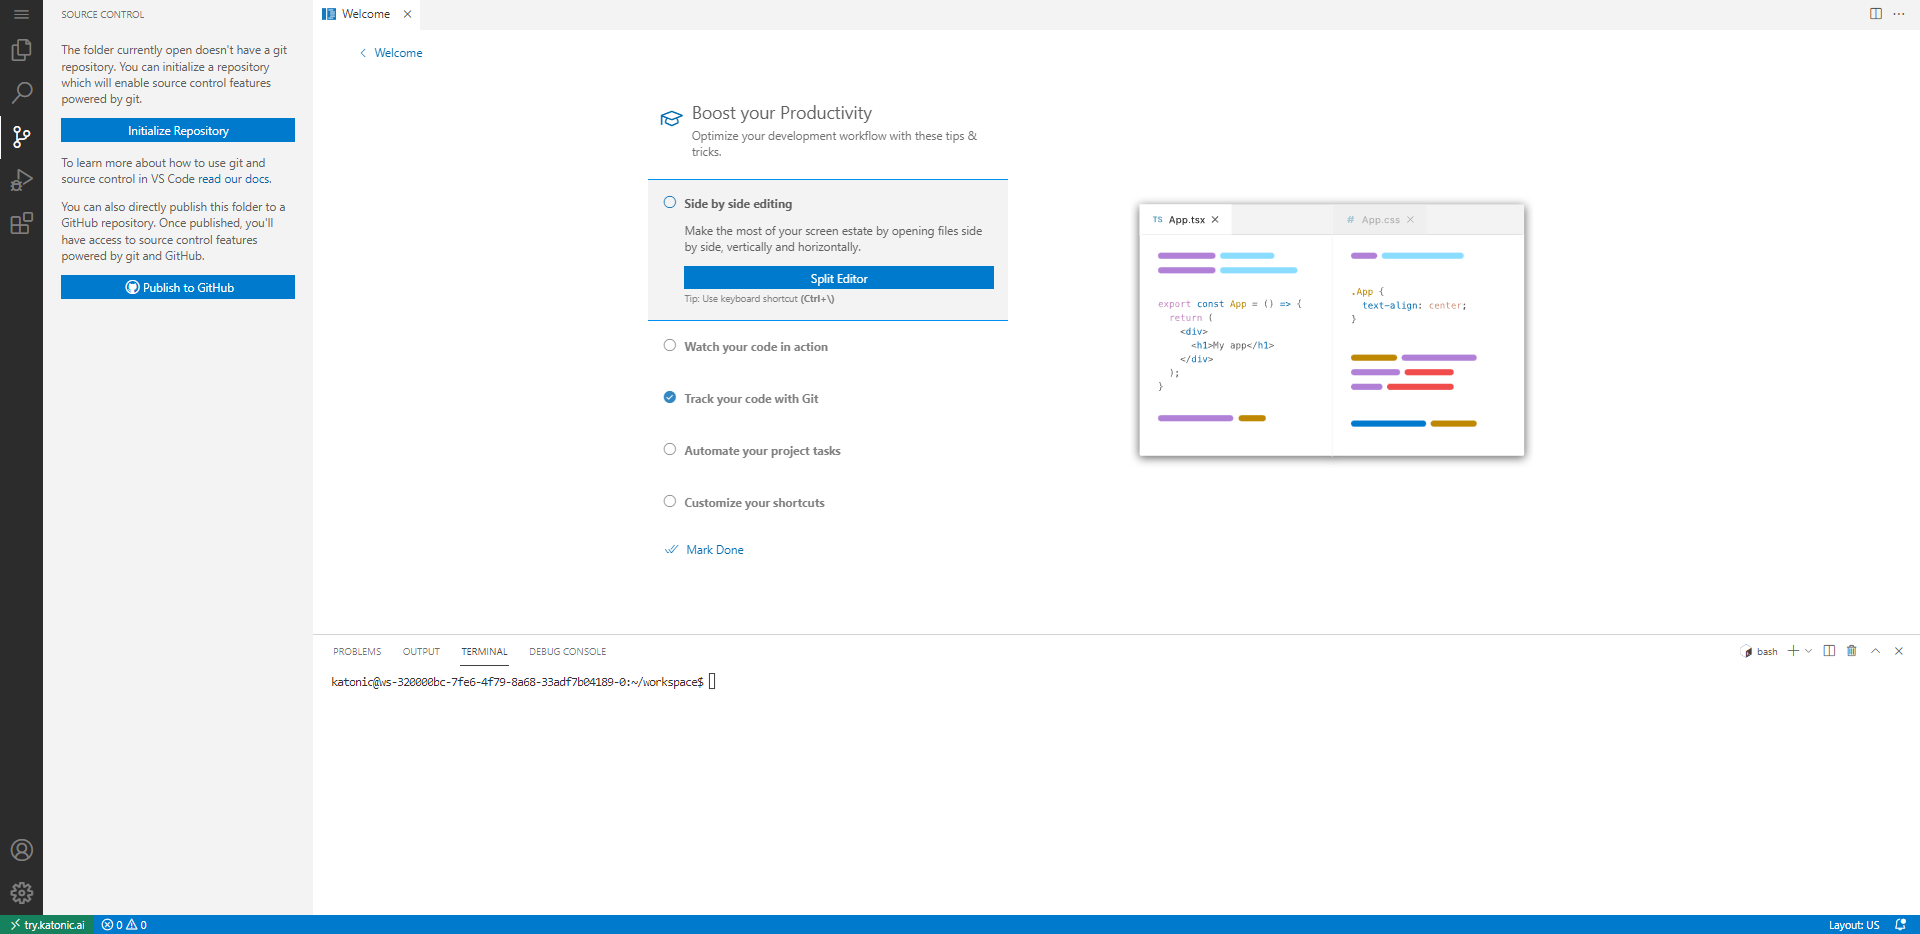
To Connect with GitHub you need to use the terminal and use the GIT commands.
   git config --global user.name "USERNAME"
   git config --global user.email "Email"
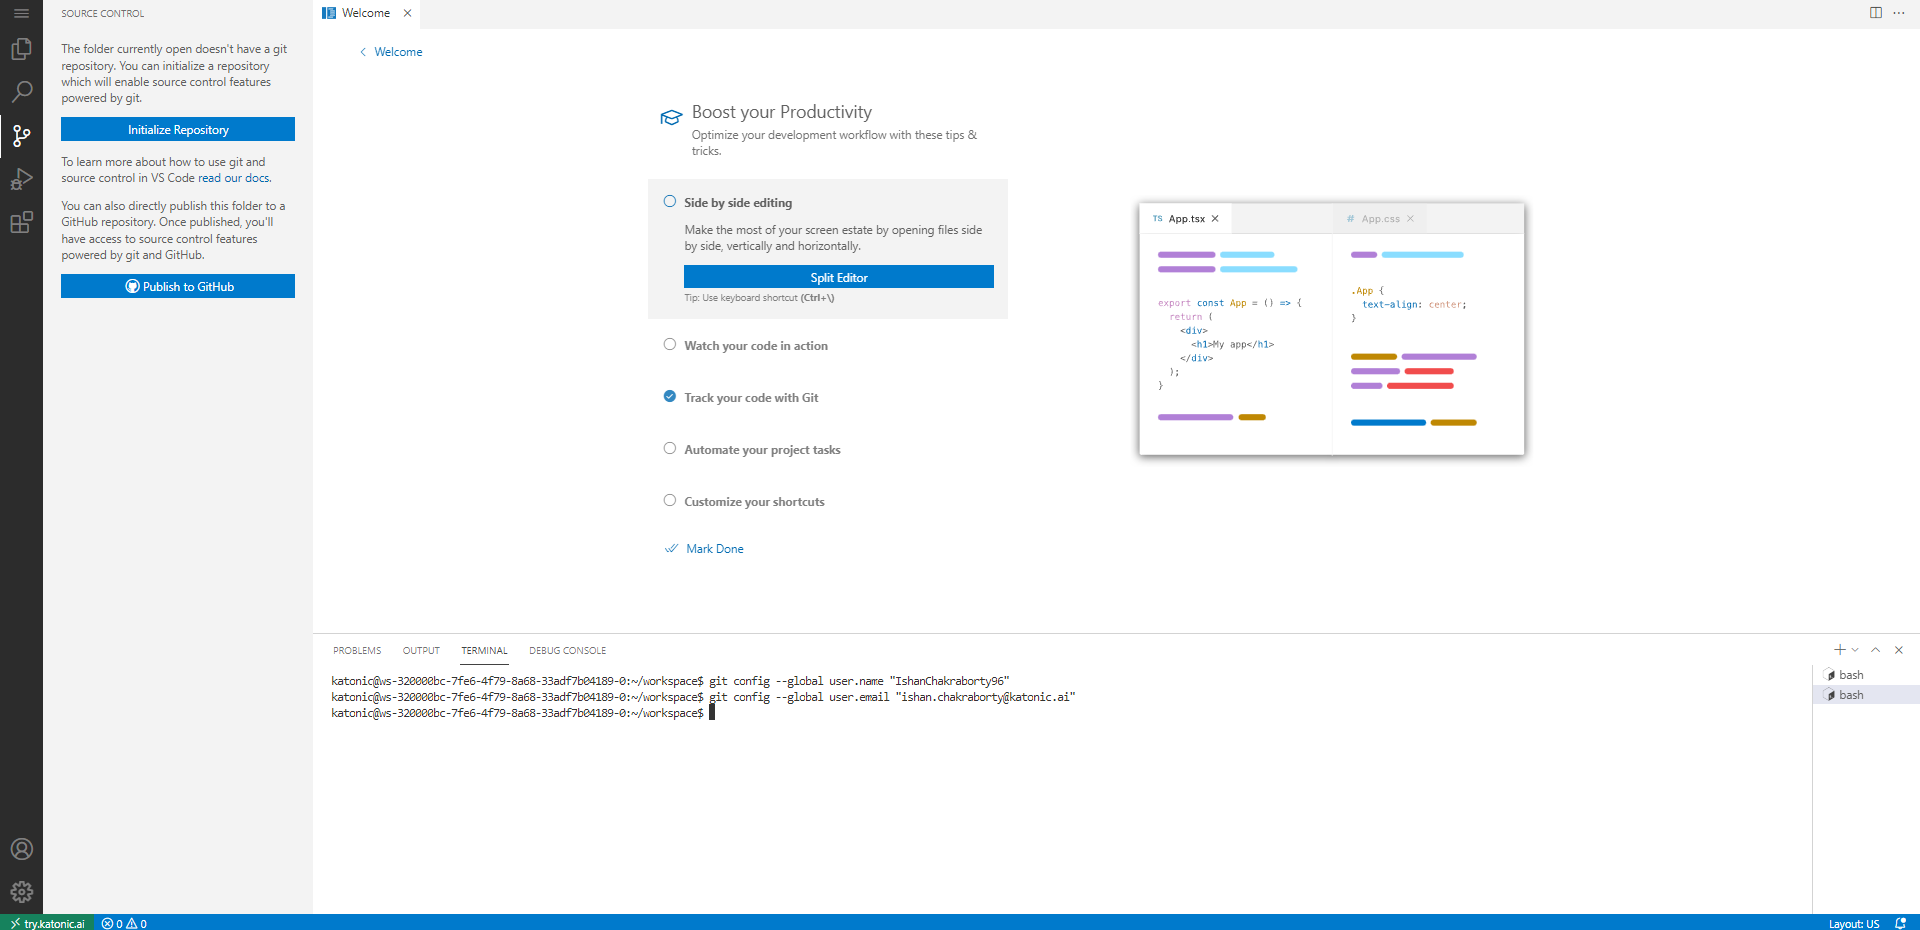
Cloning a repository
You can search for and clone a repository from GitHub using the Git: Clone command in the terminal.
git clone https://github.com/katonic-dev/Examples.git

From the GitHub repository dropdown you can filter and pick the repository you want to clone locally.
Authenticating with a private repository
Enabling authentication through GitHub happens when you run any Git action in VS Code that requires GitHub authentication, such as pushing to a repository that you're a member of or cloning a private repository.Follow the steps for authentication
1.Clone the required repository. you will be asked for your username and password in the top middle of the UI.
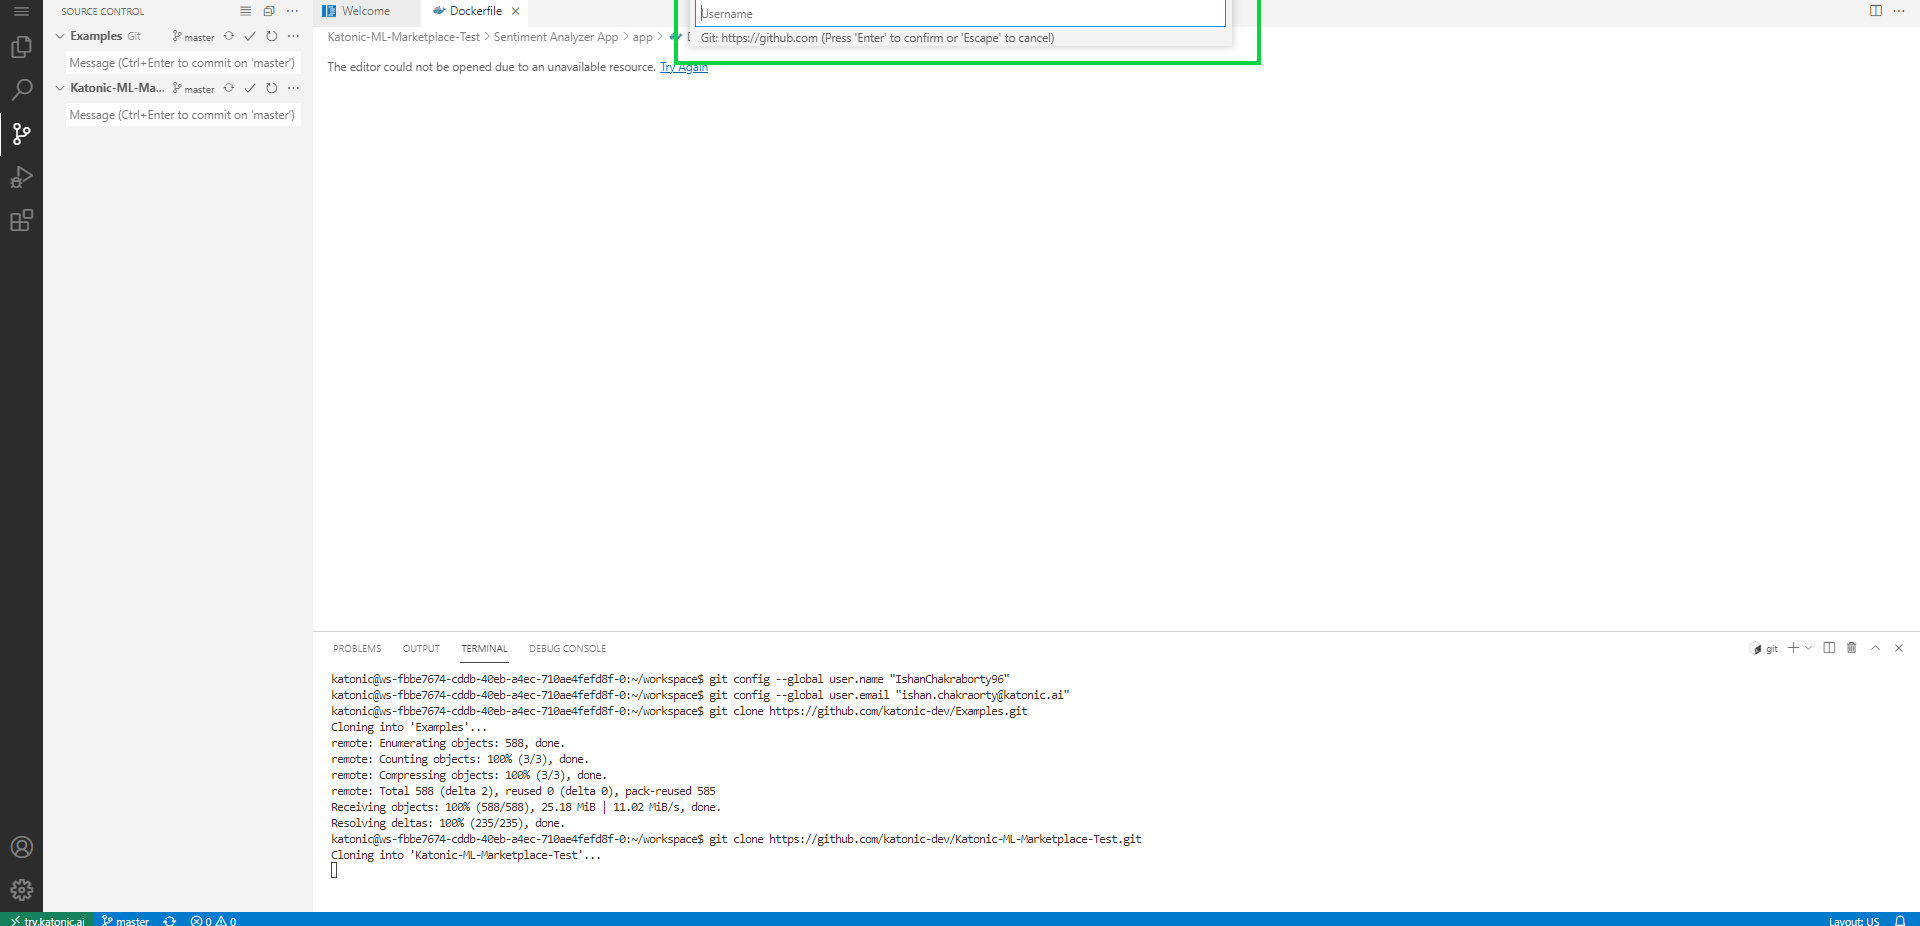
2.After giving your username next it will ask for your password (Password is nothing but your GitHub token).
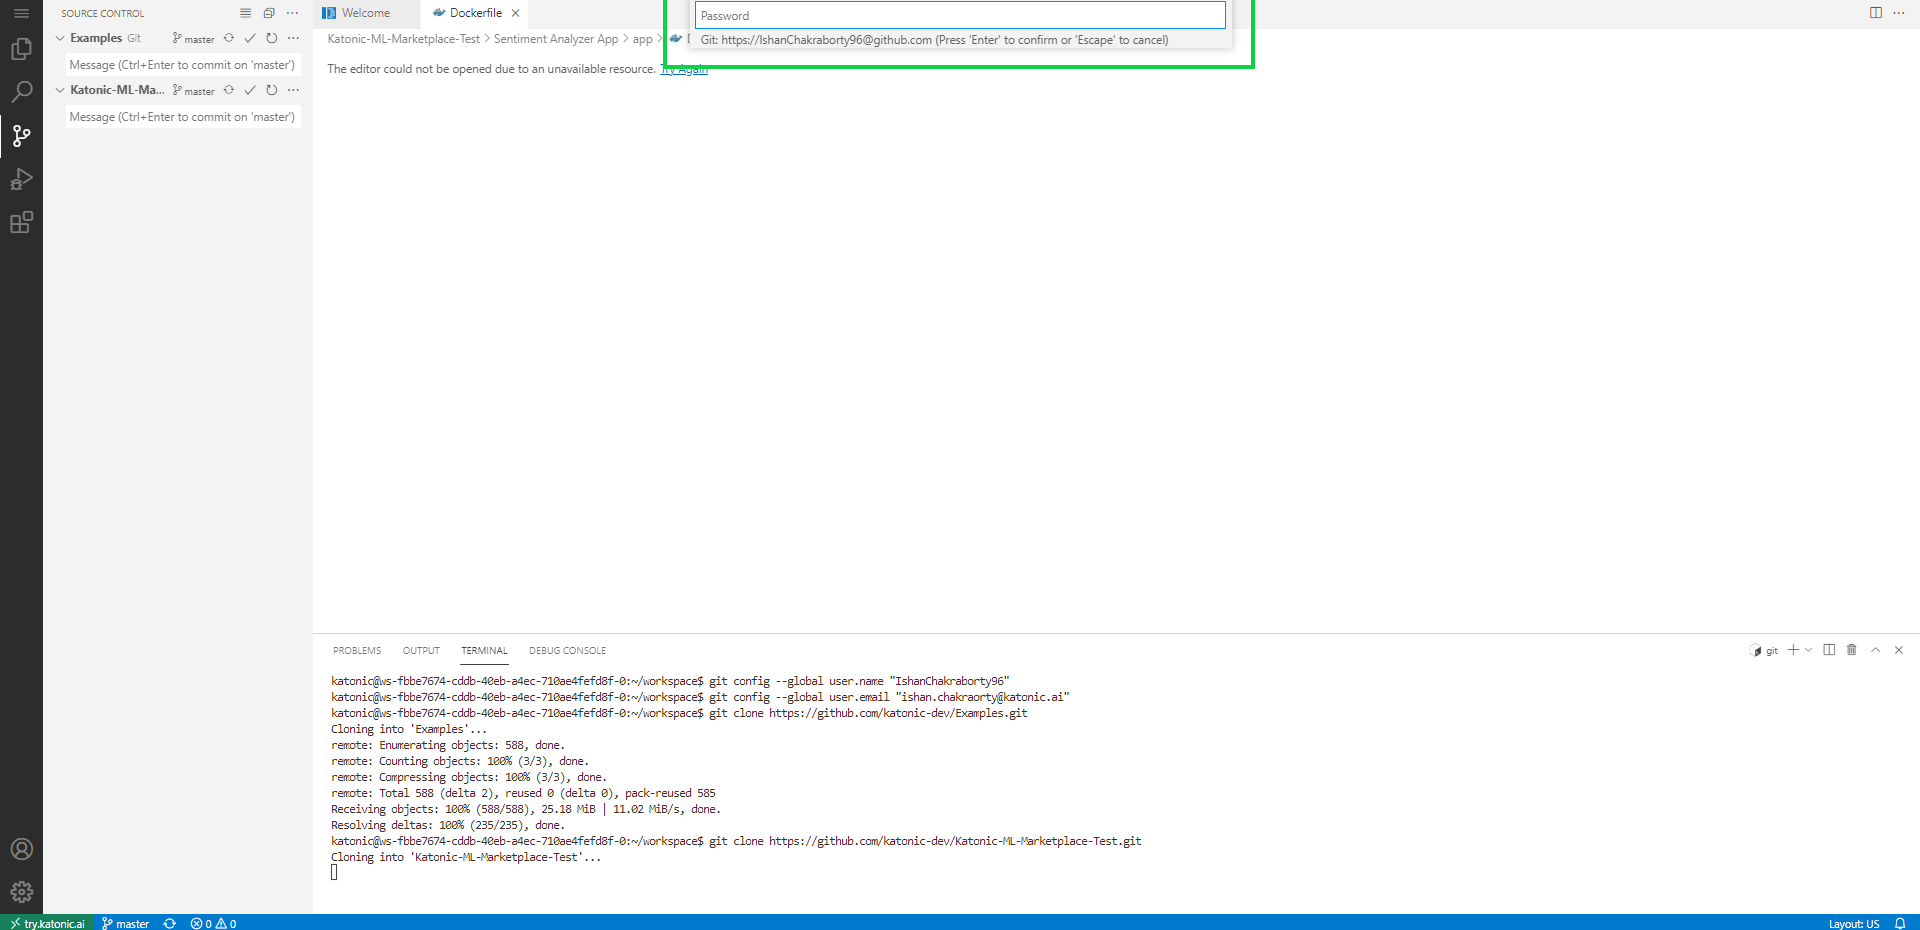
Note: You can add your authorization GitHub token manually in Password. In GitHub, you will receive your authorization token. Copy the token and Paste in your Password.
Note: Your GitHub Token can be generated from GitHub Settings.
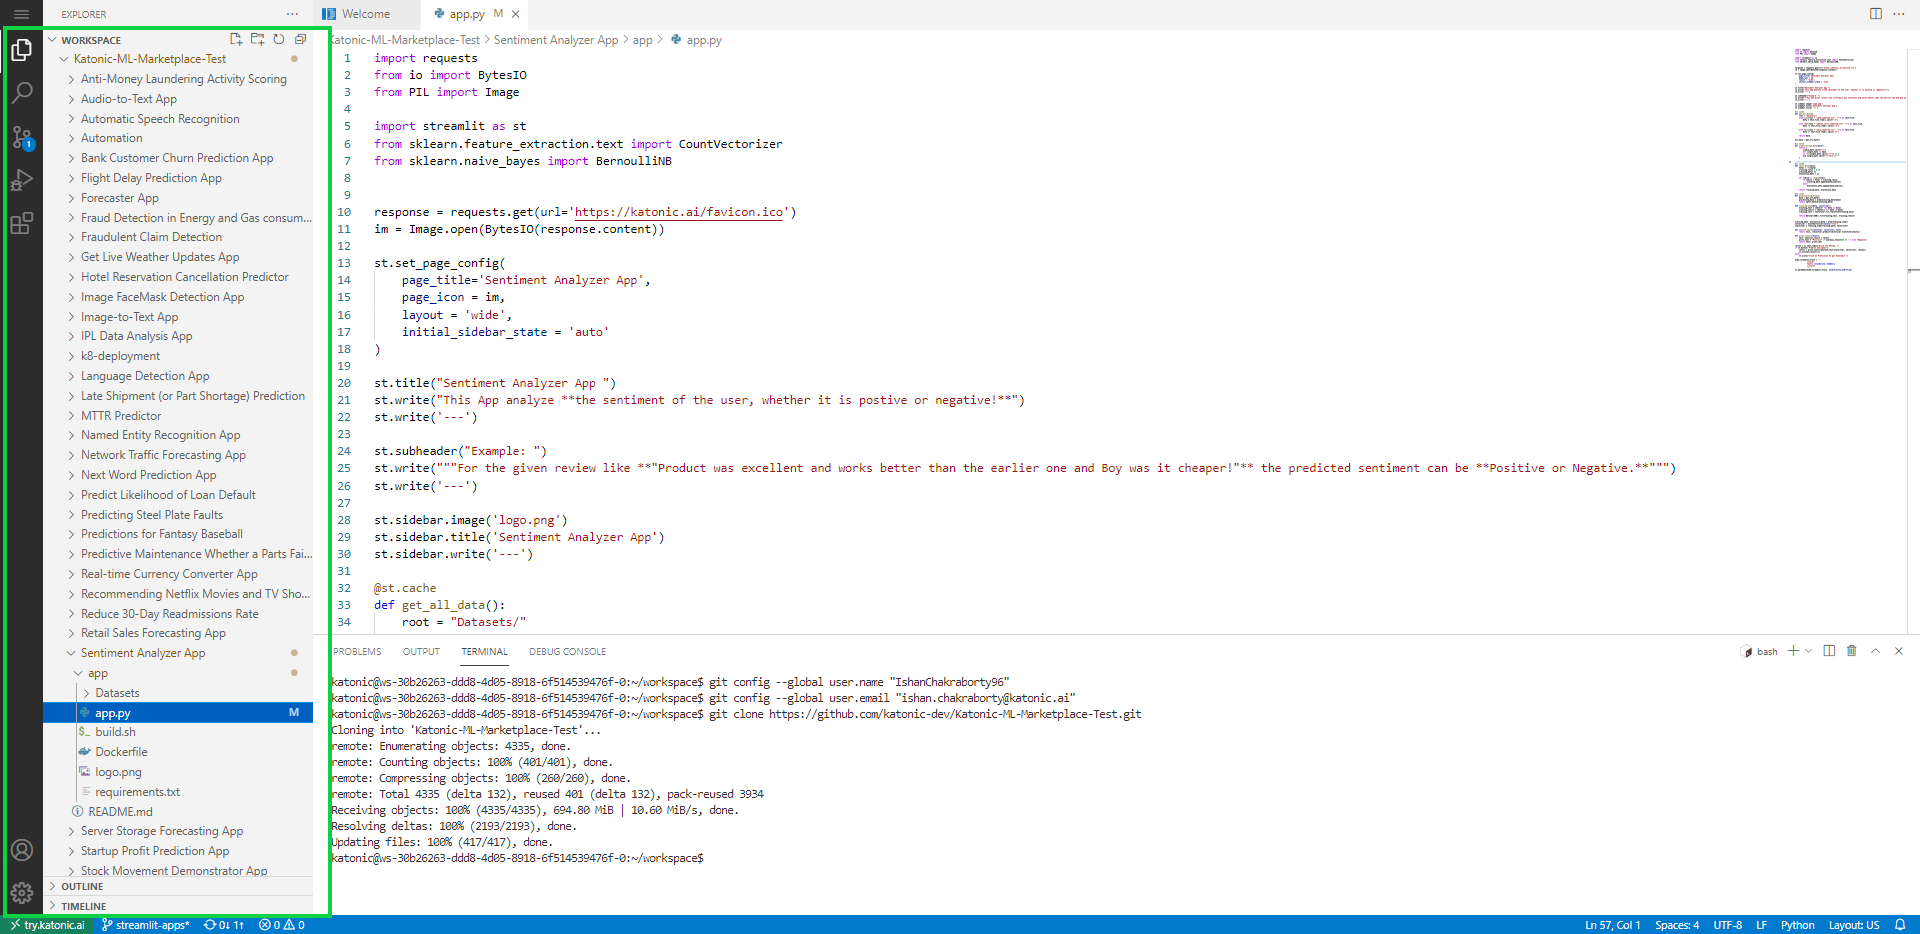
3.Once all your files are cloned you can start working on your workspace and then you can save your updates by commiting your change from source control.
Git Commit and Push
1.Once your files are clone or ready you can commit your changes with a message.
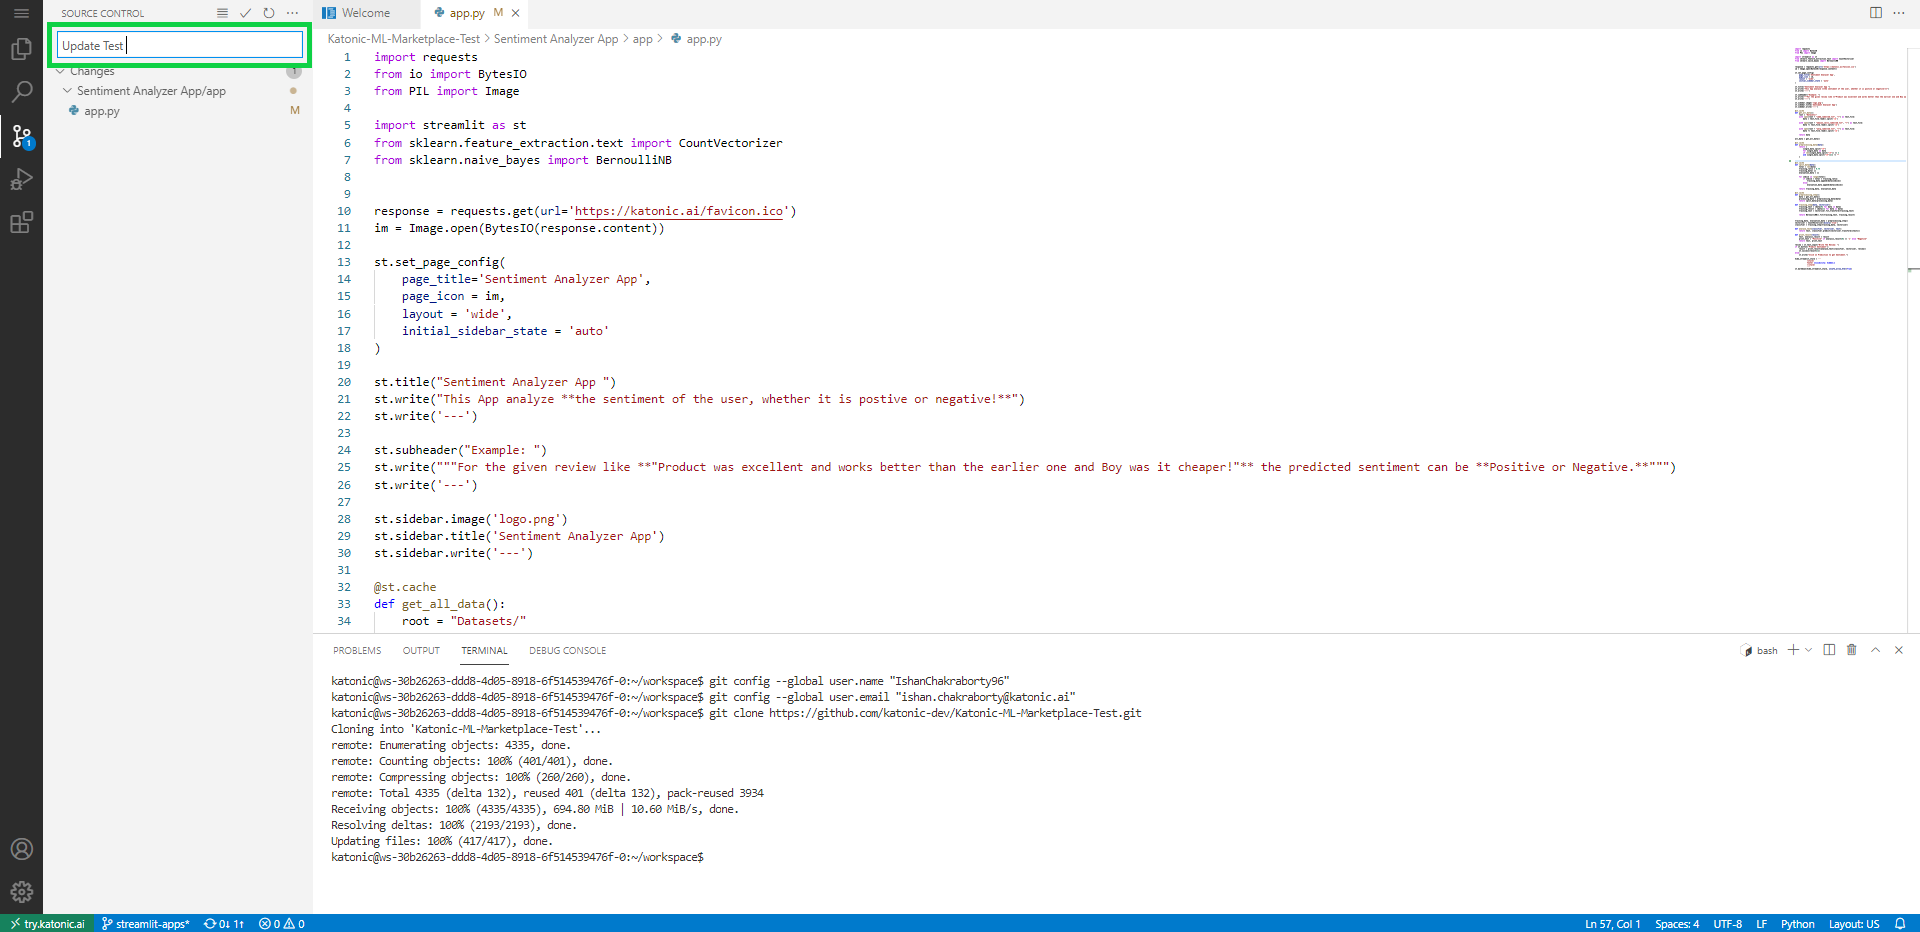
2.If it's a private repository then it will ask your username and password in top middle of VSCode UI.

3.Click on the ✓ on the top left to commit.
4.After commit you can Git push by selecting View or more actions(...) icon, In dropdown you will find Push.
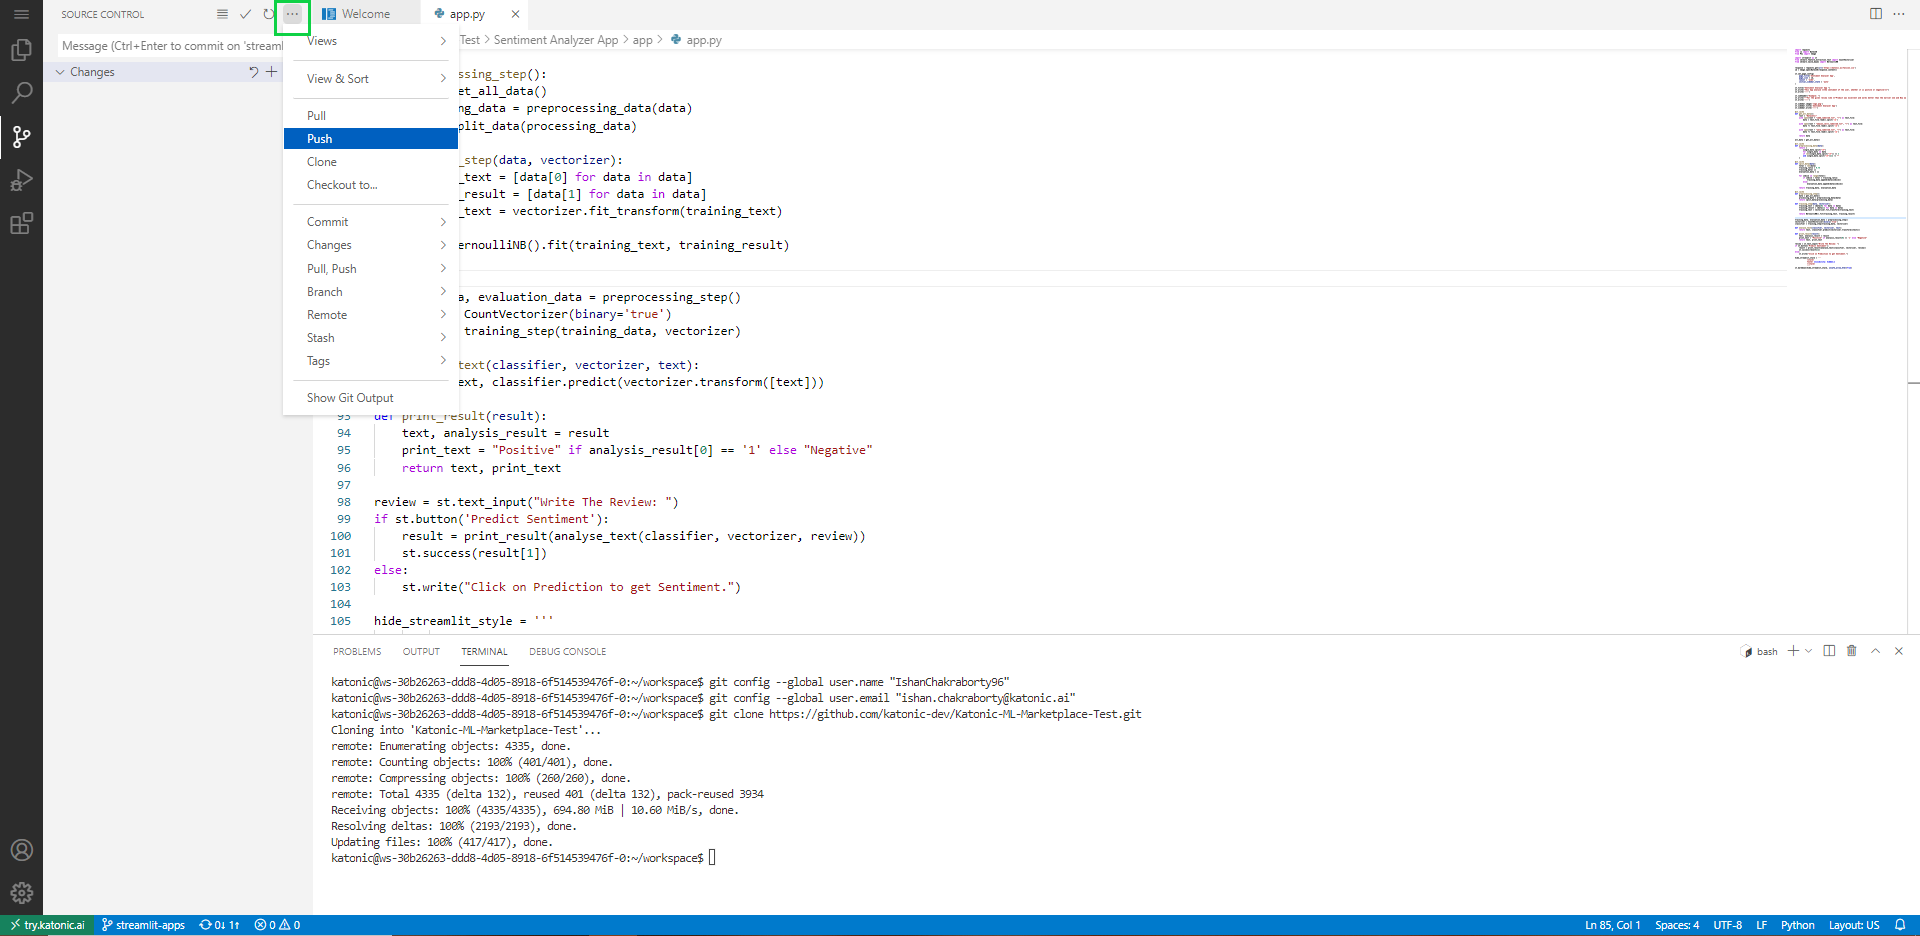
By pushing, all the files are now updated to GitHub repository. You can check your repository to see the new changes.